- Submit your Expression of Interest Form and wait for approval (typically a few days).
- Instructor access to the Cogniti system is via your Quercus course menu.
Once approved, there are a few initial steps that you need to complete:
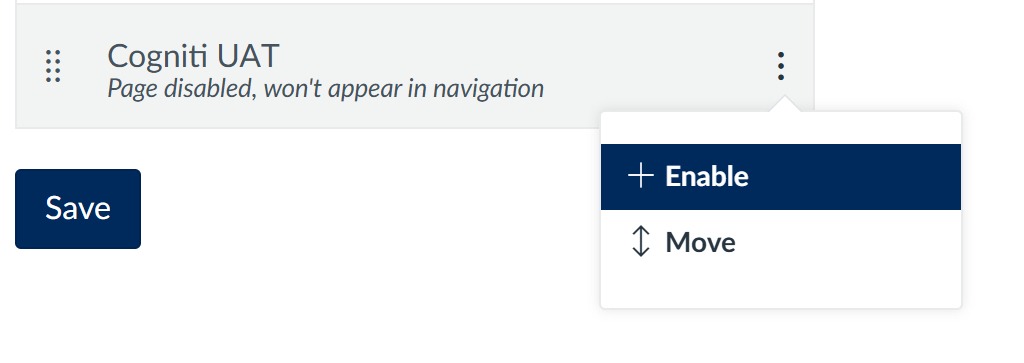
– Manually add the Congiti UAT link to your Quercus course menu.
– Access the Cogniti system for the first time by selecting the Congiti UAT from your Quercus course menu. This will create your account in the Cogniti system, however there will be a slight delay of about 24 hours before you are able to create your first agent.

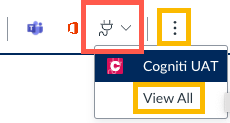
You must always use the Quercus course menu link when creating and editing Cogniti agents.
– Although this link takes you to a cognitiproject URL, this URL will not work directly (do not bookmark).
– Additional support staff access can modify your agents with this same link in your Quercus course menu.
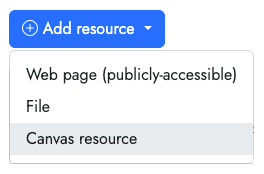
– Only Instructors and staff use this Cogniti UAT link, students access to Cogniti is different (see below) - You can create up to 5 Cogniti agents. You can start with a blank agent or create from a template.
– Before creating your first agent, consider what you want your agent to do for your students. The design process is better thought out before you start building your first agent. Reference the University of Sydney guide on how to design custom AI agents that can propel learning for an outline of what will make a good system message for your agent. The system message is the instructions you give to your agent on what you want it to do and how to behave.
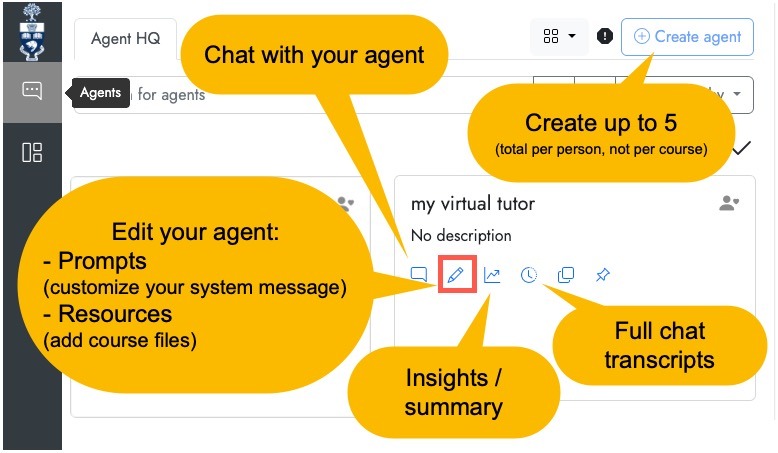
- Chat with and edit your agent.
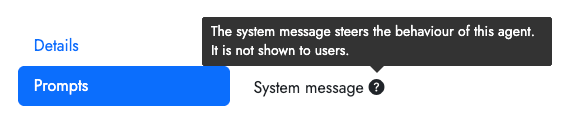
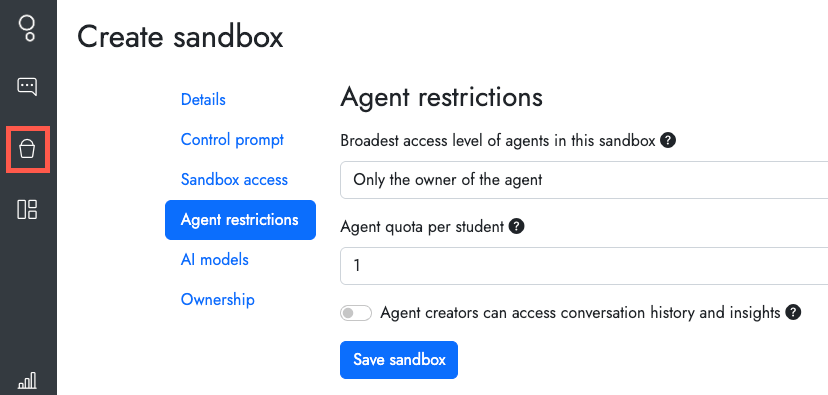
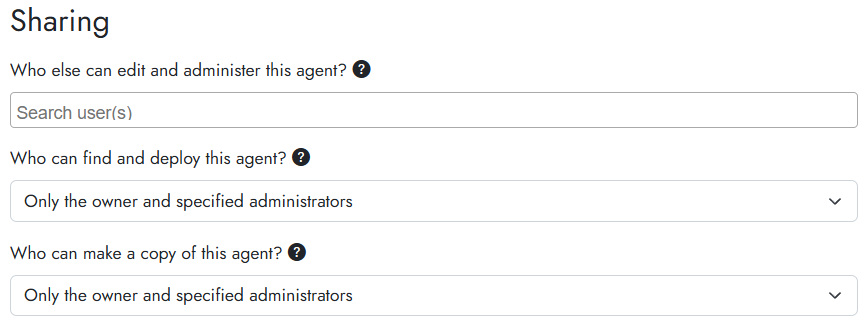
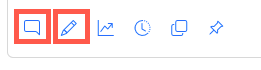
Edit your agent’s settings using the pencil icon. Some of the main settings to configure are:
– System Prompt / System message.
– Resources (add course materials that you want your agent to use as grounding material when forming responses.)
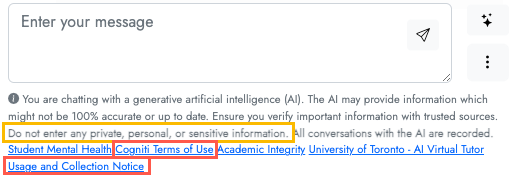
Chat with your agent using the chat bubble icon. Test your agent’s responses by chatting with it to ensure it is responding in the manner you desire.
- Student access is different.
– Students do not access Cogniti from the Cogniti UAT link in your Quercus course menu.
– A Quercus page is necessary as the home for your agent in your Quercus course.
– Once you are ready to make your agent available to your students, create a new Quercus page and add the agent via the electrical plug icon in the Quercus Page editor.
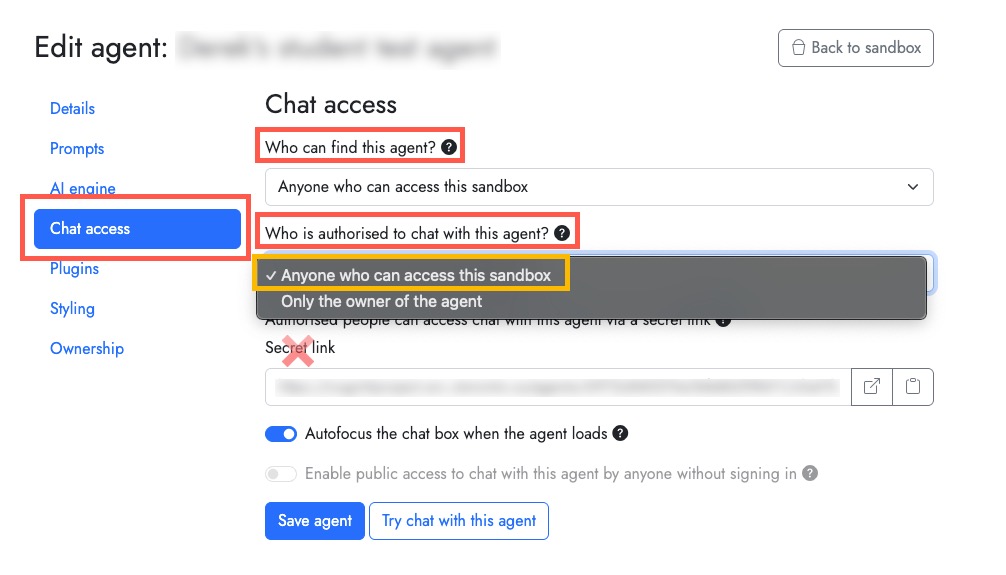
– Students access is always within your Quercus course (‘share’ links that are listed directly in the Cogniti sharing area will not work).
– Before sharing with your students, remember to outline and clarify the purpose and intent of using the agent, and explain the context as to why you have developed this Cogniti Agent for them. Reference the University of Sydney guide “Four strategies for implementing custom AIs that help students learn, not outsource“. - Find out how well your agent is doing.
– View insights (the arrow graph icon) which will give an AI generated summary of how students are interacting with your agent.
– Conversation history (the clock icon) will show full transcripts of individual interactions. (student interactions with your agent are anonymous, only the input and output text information is saved.)

Remember to connect with other Faculty and ask questions in the CTSI AI Virtual Tutors MS Teams community.