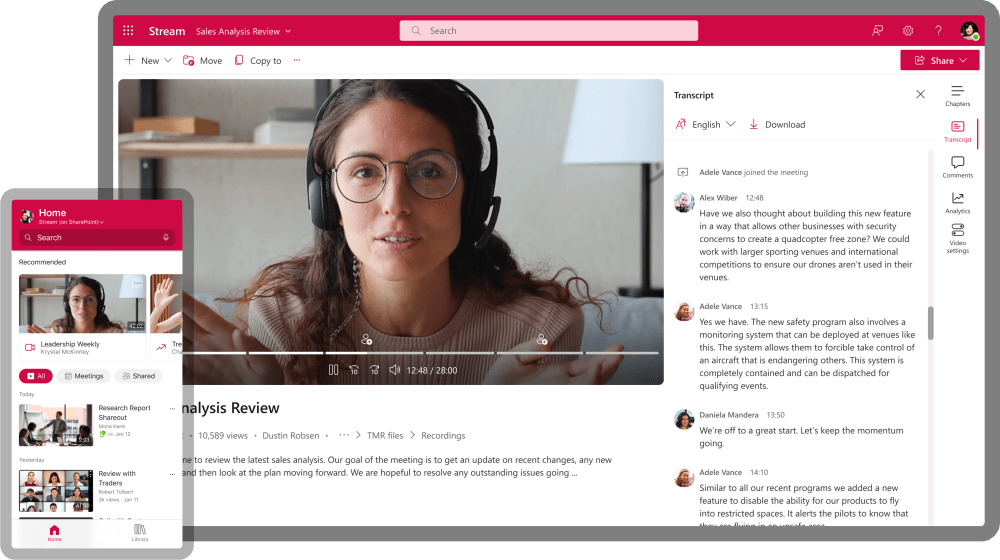
Microsoft Stream (on SharePoint) is a University of Toronto platform available for hosting, captioning, and sharing videos recordings.
-
Switching from Microsoft Classic Stream to Stream (on SharePoint)
Access Microsoft Stream (on SharePoint) at:
https://stream.office.com/
Information from EASI (Enterprise Applications and Solutions Integration)
Microsoft is transitioning to a newer version of Stream that will be better integrated with the rest of the Office365 suite of tools. The deadline for the transition is May 6, 2024. The earlier version of Stream will now be known as Microsoft Stream (Classic), and the new version will be known as Microsoft Stream (built on SharePoint) or Stream (on SharePoint). The main difference is that the new Stream (on SharePoint) will leverage the power of SharePoint and OneDrive to improve video management regarding permissions, sharing and governance.Consult EASI’s information on Stream for updates.
-
Updating Links after Migration
After migration of videos from Stream (Classic) to Stream (on SharePoint) you will have until February 2025 to update any links that are shared on Quercus or an external site.
For OneDrive
- Access videos by clicking on the Microsoft App (waffle) at the top of Outlook and selecting either Stream (best option for a video) or OneDrive.
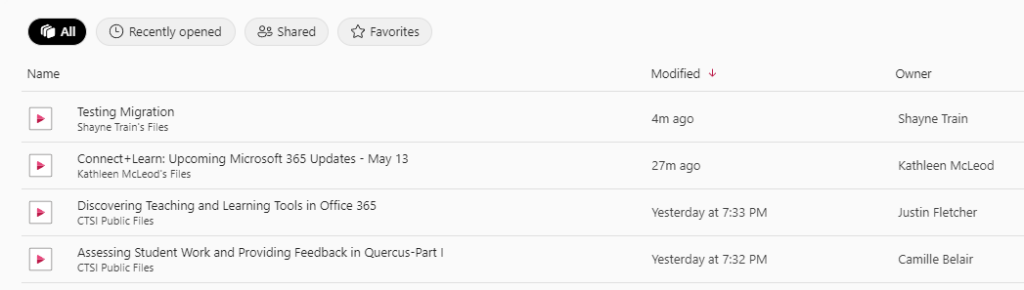
- Select a video that you have shared on Quercus. Find your videos in Stream quickly by clicking on the Created by Me button above the videos.

- You can also select the List View icon on the right-hand side of the page to see the owner. Note that an Owner has full sharing permissions; however, a video created by another user may have restrictions.
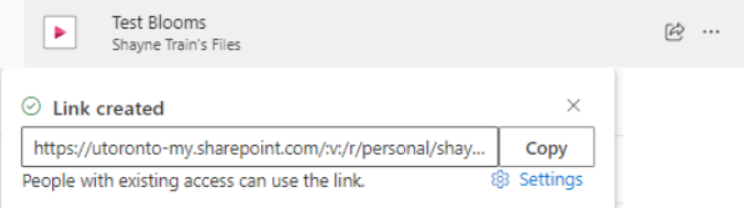
- Select the Share icon next to a recording name in the list view or within the video itself. Choose Copy Link. That is the NEW link you will need to update on Quercus.
- Go to your Quercus page and select Edit.
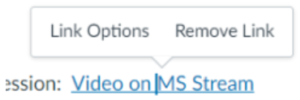
- Click on the link you want to update. Select Link Options.
- Under Link, paste in the new link.
- Save your page and you’re done!
For SharePoint
- Go to your SharePoint site.
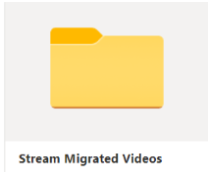
- If your videos were migrated, they are in a folder called Stream Migrated Videos. If you can’t find the folder, use the Search bar at the top of your SharePoint.
- Select a video.
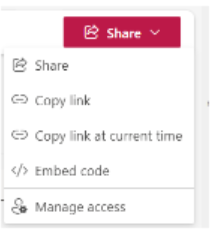
- Select the red, square Share button on the right side of the screen.
- Select Copy Link.
- That is the NEW link you will need to update Quercus.
- Go to your Quercus page and select Edit.
- Click on the link you want to update. Select Link Options.
- Under Link, paste in the new link.
- Save your page and you’re done!
TIPS
- Open your Quercus course or website in one tab on your computer. Open your Stream or SharePoint in another tab. That way you’ll be able to go back and forth, collecting the new links and pasting them into Quercus or your site.
- Keep a list of all your videos so you can track what has been updated.
- If you have many videos, start updating now so you’re not caught at the last minute. If you don’t update the links by February 2025 students will not be able to access your videos as the redirect links will stop working.
-
Upload Videos to MS Stream
Upload Videos to MS Stream (on SharePoint)
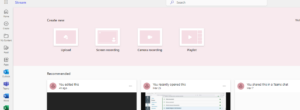
- Access MS Stream (SharePoint) from your O365 apps (if updated to the new version) or via https://web.microsoftstream.com () Another way to find your video on OneDrive is to go to your Files > Documents > Recordings.
- To create a video, select one of the options under Create new: Upload, Screen recording, or Camera Recording.
- To upload a video from your computer:
Browse your computer to select and upload a video.
You will see a message that Upload is in Progress.
Depending on the length of your upload it might take a while to see the recording in the list below.
- Access MS Stream (SharePoint) from your O365 apps (if updated to the new version) or via https://web.microsoftstream.com (
-
Create a Screen Recording
To create a screen recording:
- Select the Screen recording option.
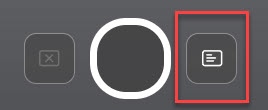
- Include your image from a webcam or click X to close it. You can resize and move the image.
- Select the Teleprompter icon to view text that is either typed or pasted from another source.
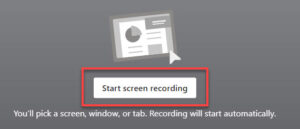
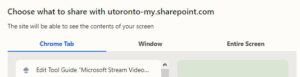
- Select the Start screen recording box and choose your screen, window, or tab as a background.
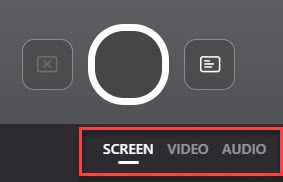
- If you only want to show yourself on the screen (for example, welcoming students to your course), select the Video option. You can also record yourself by selecting Camera recording in the first options.
- If you want to record audio only, then choose the Audio option. Files save with a suffix of .webm.
- Select Share at the bottom of the selection box.
- Record your video after the sound of 3 beeps.
Note: If you have the option, use two monitors, one for your background and one for the Screen recording interface and transcript. If you have one monitor, you can toggle between the tabs using the View tab link at the top of the page.
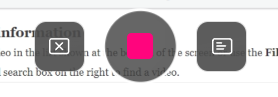
- To stop recording, select the red box Stop Recording icon.
- Review you video, trim from start or end of video, add music. Note that Microsoft is working on a way to trim sections of video from the middle).
- Select Finish to complete and save your recording.
- Select the Screen recording option.
-
Add Video Information including a description, chapters, and captions
Add video information
- Find a video on your Stream page.
- Open the video by selecting the title or the arrow icon beside the name.
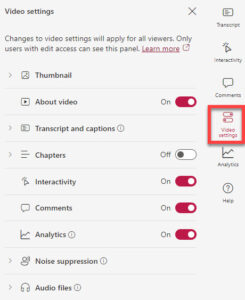
- Open Video Settings in the side panel to add a description, chapters, and captions and other options.
- Options:
- Thumbnail – choose a thumbnail image
- About video – display a description of the video. To add the description, turn on this setting, then click below the video in description box. Select the checkmark when done.
- Transcript and captions – Open this section by selecting the drop-down arrow. Select Generate to automatically generate captions. If you already have a captions file (.vtt) then you can upload it. Note that processing may take up to 48 hours. You should see a message during processing indicating how much time is left on generating the transcript and captions.
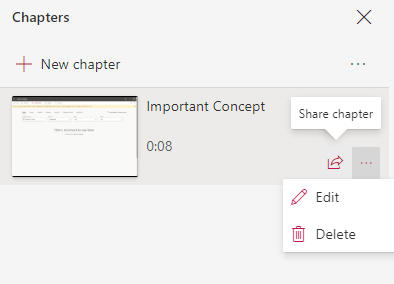
- Chapters – Open this section by selecting the drop-down arrow. Use the slider bar to turn on chapters. Select the link to go to Chapters in the Settings menu. During video playback select + New Chapter to create chapters. You can adjust the time stamps.
Selecting a chapter will take you to that location in a video. You can also hover over the chapter to see a Share icon that will allow you to share that specific point in the video. Edit or delete chapters by selecting the … more button. - Interactivity – add callouts (coloured text boxes) or create/link Microsoft Forms. See next section for instructions. Turn on using slider bar.
- Comments – enable viewer comments by turning on the slider bar.
- Analytics – enable analytics by turning on the slider bar. View analytics by selecting them from the main menu sidebar.
- Noise Suppression – enable this setting to help viewers isolate speech from ambient noise, music, and other sounds. This setting can also be controlled by the viewer.
- Audio files – upload an existing audio file.
-
NEW: Interactivity Feature - Callout
Interactivity – Callouts
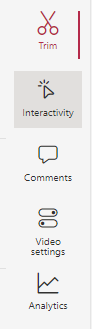
- Select Interactivity in the Settings Menu.
- Play the video, pausing where you would like to call attention through a coloured text box. Pause.
- Select + Add new and choose Add callout.
- In the drop-down menu select the style (colour).
- Adjust the timing of the callout.
- The callout box appears directly on top of the video. It can be resized and moved.
- Select the checkmark beside the time stamp to accept the new callout.
-
NEW: Interactivity Feature - MS Forms (Updated)
Interactivity – Forms
Microsoft forms allows you to embed a quiz or collect feedback to a video.
- Select Interactivity in the Settings Menu.
- Play the video, pausing where you would add a Form. Pause the video
- Select + Add new and choose Add form.
- Select the link: Go to Microsoft Form to find the form you want to embed. You can also create a new one by selecting New Quiz or New Form.
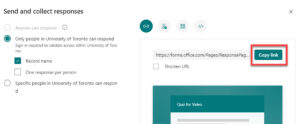
- Open the Form and select Collect responses from the top menu. Adjust settings as needed. (We recommend always checking Record name).
- Choose Copy link.
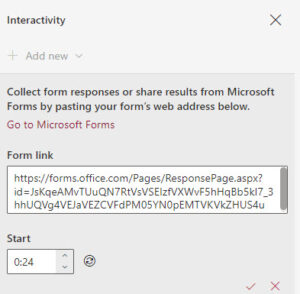
- Return to the video and paste the Form link into the Interactivity section.
- Select the checkmark to accept the changes.
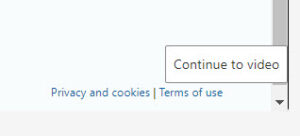
- Use the link at the side of the video to return to video: Continue to video. We recommend showing students how to navigate the interactive Form.
-
NEW: Trim a Video
Trim a Video
Notes:
- Microsoft is rolling out this feature as of June 2024. If you don’t currently see the option, you should be able to use it in the near future.
- Currently, you can only trim (hide) 5 parts of your video with Stream’s trim.
- Trim doesn’t modify the actual video file. The full video is available to those that have edit access and when the video is downloaded. In addition, the sections of the transcript and chapters that have been trimmed are still available to Microsoft Search and Copilot.
To trim a video:
- Select Video Settings from the side menu
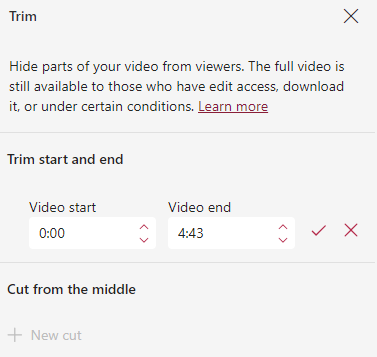
- Select the Trim icon (scissors) at the top of the panel.
- In the Trim start and end section of the pane, select the pencil icon to edit the video’s start and end time, if the fields aren’t already editable.
- On the video player, drag the trim handles to set where the video should start an where it should end. You can also edit the times directly in the trim panel. The part to be trimmed will appear as dashed lines.
- To complete the trim, select the check mark in the trim panel.
Cut from the Middle of a Video
- In the Cut from the middle section, select + New cut, to hide middle parts of the video
- You can only cut from the middle when the video’s play head isn’t already inside or too close to a previous cut or trim
- On the video player, drag the cut handles on the video timeline to set the cut’s start and end time. You can also change the cut start and end times directly in the trim panel.
- To complete the trim, select the check mark in the trim panel.
-
Share a Video on MS Stream
Share Videos from Stream (on SharePoint)
MS Stream (on SharePoint) has the same sharing permissions as other files in OneDrive / SharePoint.
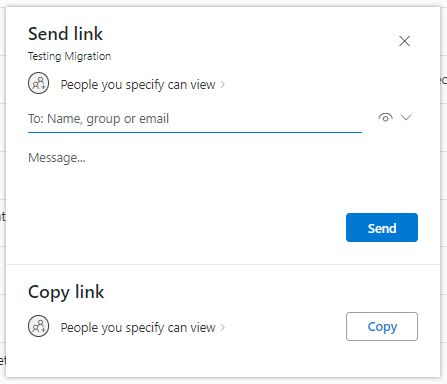
Share from the File Menu
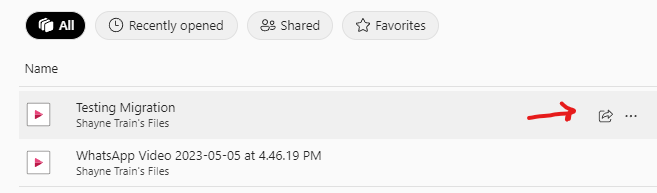
- Hover over a file name within the file list. A Share icon will pop up. It can also be found in the … More menu.
- Share via Email or in Teams. You can also copy the link to share where needed, such as in Quercus.
- In the sharing options, you can choose the audience for your video. You will see the standard OneDrive/SharePoint options of View or Edit for:
- Anyone
- People in University of Toronto
- People with existing access
- People you chose.
- You can also block the ability to download a video by selecting that option.
Share using the </> Embed code option
One of the share options is to copy the Embed code. This option will require the viewer to be already logged into their university Microsoft 365 account in their web browser to view the video. We recommend also including the direct share link when using the embed code, to provide a second access point for your students in the event the embed code access does not work for them. Consult How to embed a new Stream video to Quercus (or any 3rd party platform) to learn more.
Related Links
Refer to Captioning Videos to learn more about generating and editing captions.
To learn how to share videos from MyMedia, refer to MyMedia Hosting and Sharing.
- Hover over a file name within the file list. A Share icon will pop up. It can also be found in the … More menu.