Quercus Modules and Pages
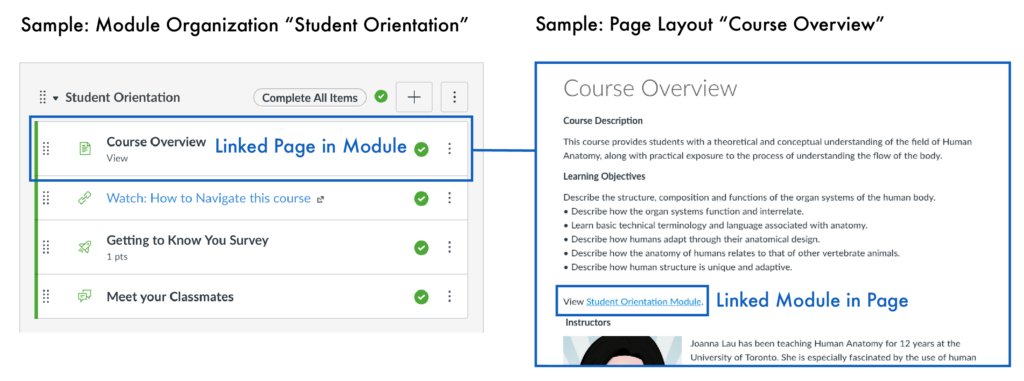
Quercus course content can be presented in two ways: Pages and Modules.
Modules can link to Pages, and Pages can link to Modules.
Modules are a way to organize course content. Pages give flexibility on how to display course content.
Modules are a good way to guide students through course content, as the instructor has options to specify the sequence to follow; to lock content until a certain date; and to require students to complete activities or quizzes before going on to the next module.
When you publish a module, all of the items in that module also become published. This is seen only after refreshing the webpage. If you would like to publish a module BUT there are certain module items that you do not want published: 1) publish the module, 2) refresh the webpage, and 3) unpublish any module items that you do not want to be available to students. .
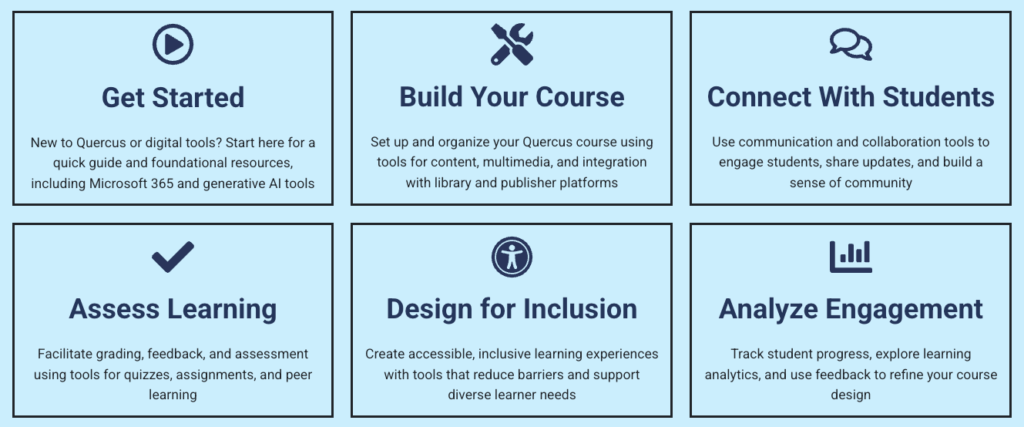
The Academic Toolbox helps you...
Typical Course Format?
Most tools in the Academic Toolbox can assist in both online and face-to-face courses. Many tools can provide benefits in either synchronous or asynchronous teaching. Some tools have been primarily designed for one format or another (synchronous/asynchronous), however, may be adapted for any format depending on your pedagogical goals.
To learn more about different teaching modalities, please consult our Online Teaching & Learning page, arrange a consultation with a CTSI Teaching Liason, or contact your Divisional support representative.
Where can I get more support?
How Are Faculty Using This Tool
Reassessing Assessment
U of T faculty members reflect on their experiences creating assessment in an online teaching environment. Resources can be found at the bottom of the page. Safieh Moghaddam, Assistant Professor, Teaching Stream, Associate Chair, Linguistics and Language Linguistics, UTSC During Fall 2020, in one of my C-level courses, I noticed that some of the students… Read more about Reassessing AssessmentHow to Get Started
Modules allow instructors to determine the order and structure (eg. by week, unit, or topic) in which the content will be released to the end-user to provide a guided learning experience.
How to Use This Tool
Organizing your Course into Modules
Why use modules?
Organization. Allows the students to move through the course in a predetermined order set by the instructor.
Prerequisites. Help students avoid missing course content or assignments by setting completion prerequisites.
Monitor Progress. Help both the instructor and students monitor their progression through course content.
Pages can be created individually, then organized into Modules. You can also link pages to one another without using Modules. Modules have the advantage of offering more flexibility, such as students having to meet certain prerequisites in order to gain access. or you can specify that students navigate through Modules in sequential order.
Instructions
-
Create a New Module
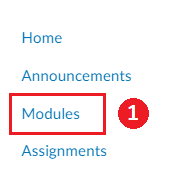
- Open Modules: In Course Navigation, select the Modules link.

- Add a new Module: Select the + Module button
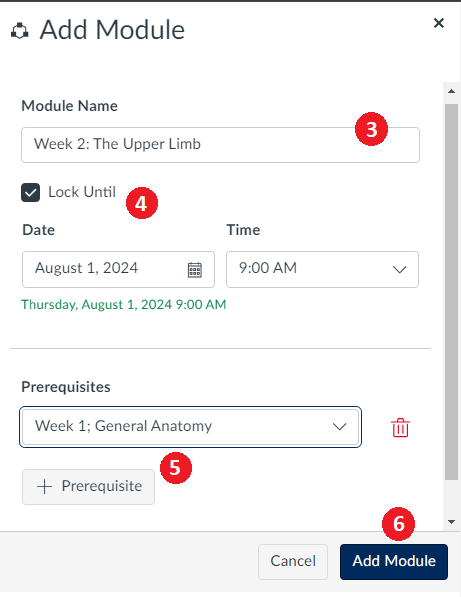
- Add Module name: Type a name in the Module Name field.
- Lock Module: If you want to restrict the module until a specific date, you can lock the module.
- Add Module prerequisites: If you have added at least one module to your course, you can require a prerequisite module. A prerequisite module means students must complete the previous modules before they can view the new module.
- Add Module: Select the Add Module button.
- Open Modules: In Course Navigation, select the Modules link.
-
Adding Items to your Module and Publishing Modules
You can add new or existing content items in Quercus to a module. You can also add an item to multiple modules, or multiple iterations of an item to one module
- Open Modules: In Course Navigation, select the Modules link.
- Add Module item: Click the Add Item (+) button.
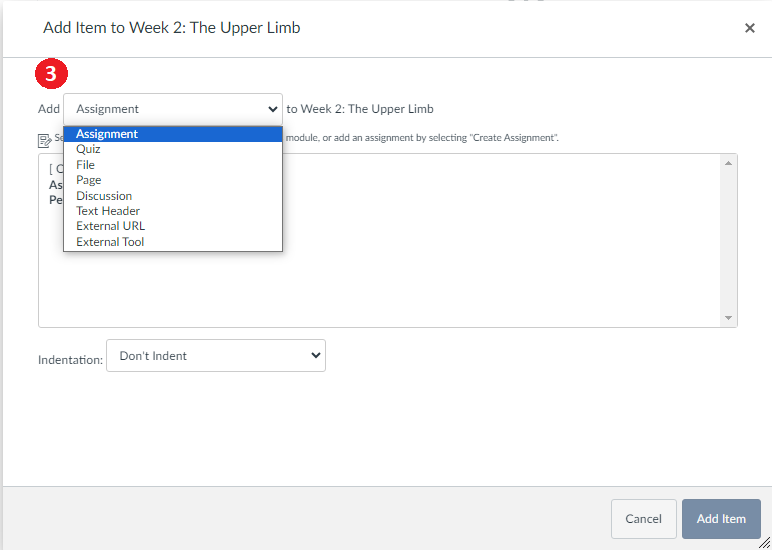
- Add an item: From the Add drop-down menu and select one of the following item types:
• Assignment
• Quiz
• File (document and media file types)
• Content Page
• Discussion
• External URL
• External Tool (Note: Instructors can share OneDrive documents as an external tool
in Modules. The embedded document can be viewed directly in the course.)
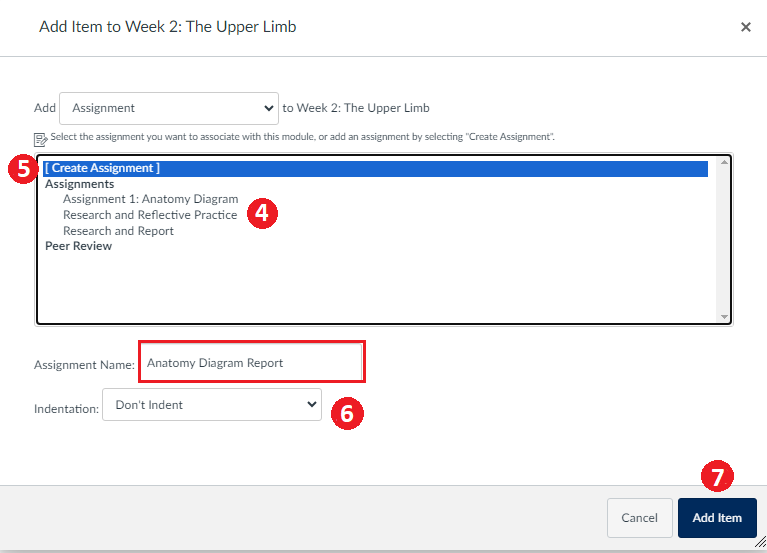
- Add existing item: If you have already created the item you want to add, click the name of the item. You can select more than one item to add.
- Add new item: If you want to add a new item, click the [Create item] option and type a name in the name field. Depending on the item type, when adding new content you may be asked to complete additional fields.
- Indent item: Choose the Indentation drop-down menu to indent the item inside of the module.
- Add item: Click on the Add Item button.
- Publish Module and added content items: Unpublished modules are invisible to students. To make the module and the content items added to the module available to students publish the module and the content items.
- Open Modules: In Course Navigation, select the Modules link.
-
Assigning Modules to Individual Students or Sections
After adding a module, you can assign the module to individual students or sections. The module content will automatically be visible only to those who have been granted access at the module level.
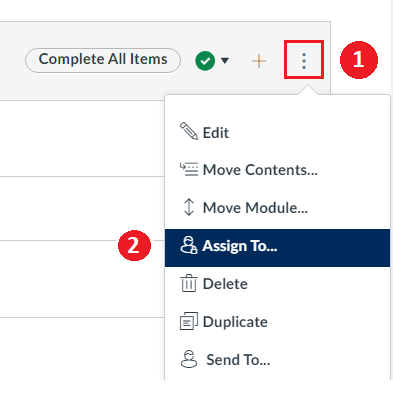
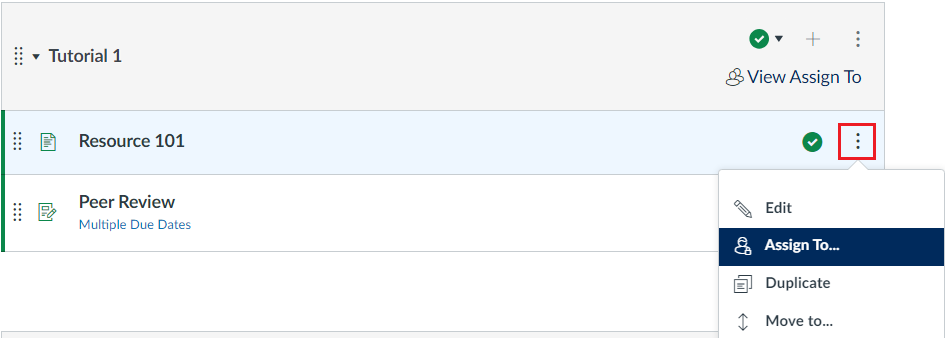
- Click the module Options icon
- Select Assign To
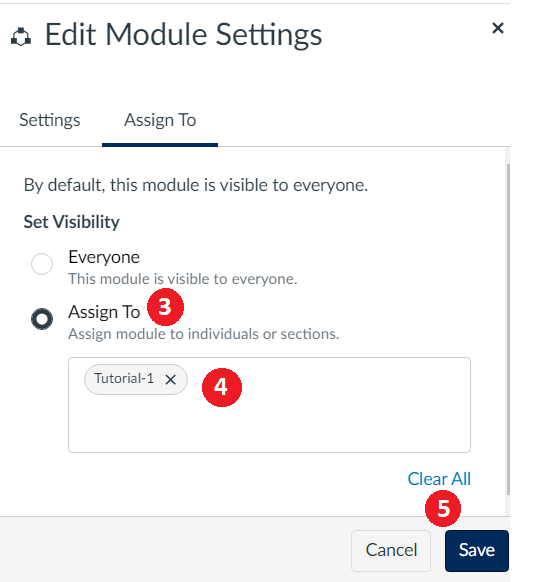
- By default, modules are assigned and visible to everyone in the course. To assign the module to individuals or sections, select Assign To
- Click in the Assign To box to select individual students or sections
- Select Save
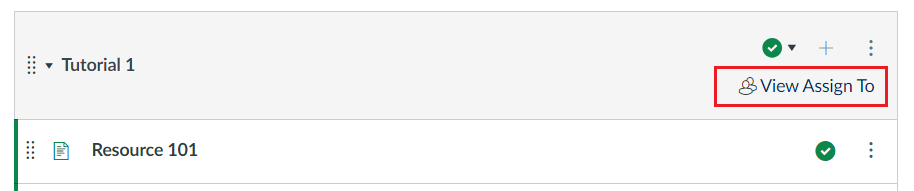
After assigning modules to individuals or sections, you can view and modify the assignment settings by clicking View Assign To at the top-right corner of the module
Note: When you add an existing item (e.g., an assignment, page, or discussion) to a module, the item’s assignment settings will be updated to match the module’s assignment settings. For example, if you add a page that is available to all students to a module assigned to individual students, the page will only be available to those individual students.
You can modify the assignment settings for module items by editing the individual content item or directly from the modules page.
For more information, please watch the following brief video guide:
-
Building and Publishing Pages in Your Course
Pages allow instructors to display a smaller amount of information, for example, a specific topic. Having a similar feel to a webpage, Pages are multimodal and can display text, embedded videos, images and files, all in one scrollable area.
Why use pages?
Context. Help students understand what they should focus on and what they should be learning.
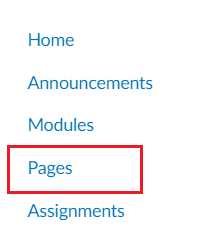
Multimodal. Readings, links, images, videos and more, can be placed in one area for a complete lesson.- Open Pages: In Course Navigation, select the Pages link.
- View Pages: Pages is designed to open to the front page for the course, if there is a front page selected (Links to an external site.). To select a page from the Pages Index, select the View All Pages button.
- Add Page: Select the Add Page button.
- Add content:
i. Type a name for your page.
ii. Use the Rich Content Editor to create content for your page, including links, files, and images. The Office 365 integration displays the OneDrive icon in the Rich Content Editor in Pages and allows users to create a hyperlink to OneDrive files directly in the Rich Content Editor.
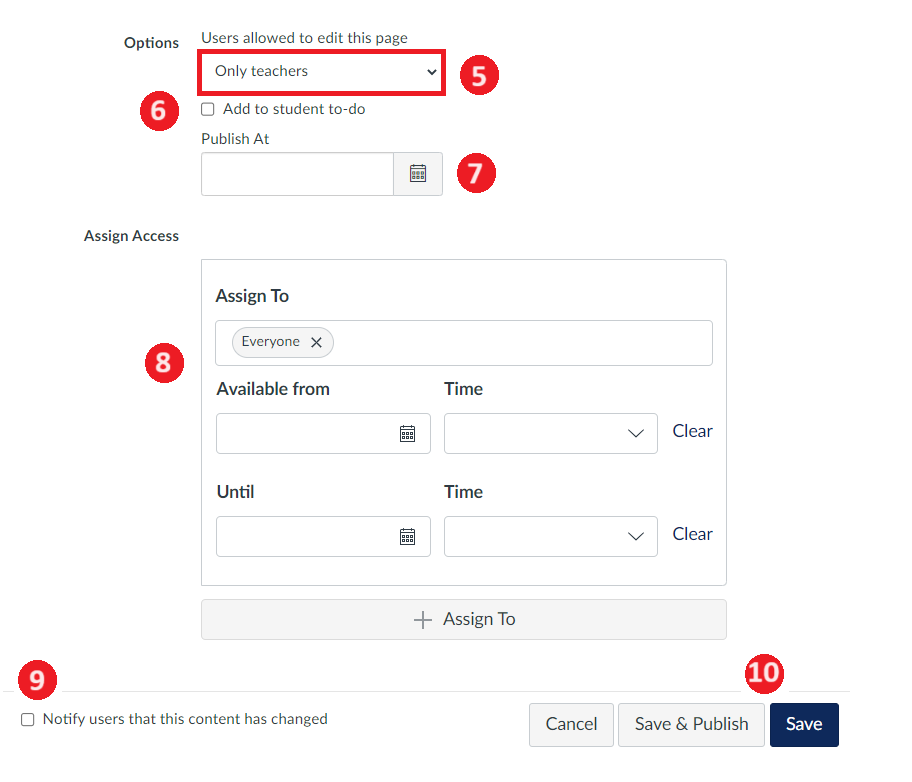
- Edit page settings: You can decide who can edit the page by selecting the Users allowed to edit this page drop down menu. Options include only teachers, teachers and students, or anyone (applied to all users enrolled in the course).
- Add the page to student To Do list.
- Schedule Publication: Optionally, designate a specific date and time in the Publish At field to schedule when the page will be published.
- Manage Page Assignment and Availability: You can use this feature to assign the page to specific students or sections in your course, and/or set the availability window for the page. You can use the + Assign To button to assign the page to other students or sections with different availability settings.
- Notify Users of Content Change: You can notify users that content has changed by selecting the related checkbox.
- Note: If a user’s Course Content notification is turned off they are not notified of page updates.
- Save and Publish: If you are ready to publish your page, click the Save & Publish button. If you want to create a draft of your page, click Save.
- Note: If you try to navigate away from a page without saving, you will see a pop-up warning.
When your page is saved in a draft state, you can return to the page and publish it at any time by clicking the Publish button. The button will change from gray to green.
- Return to Pages at any time to edit your pages.
- Open Pages: In Course Navigation, select the Pages link.
-
The Microsoft Immersive Reader button will appear in the top right of all Pages and Assignments in your course. This feature can present Pages in a more accessible format, including audio readings of the text. More information can be found here.


 When your page is saved in a draft state, you can return to the page and publish it at any time by clicking the Publish button. The button will change from gray to green.
Guides
-
Additional Resources
Canvas Instructor Guide: Modules
Canvas Instructor Guide: Pages
Canvas Guide: How do I add a Module?
Canvas Guide: How do I edit a Module?
Canvas Guide: How do I add assignment types, pages, and files as module items?Canvas Guide: How do I assign a module to individual sections or students?
Canvas Guide: How do I edit a page in a course?
Canvas Guide: How do I set a Page into a Front Page in a course?
Canvas Guide: What is the Rich Content Editor?
Canvas Guide: How do I use the Accessibility Checker in the Rich Content Editor?
Videos
-
Video demonstrating the difference between Pages and Modules.
Last Modified:
5 December, 2025
This work is licensed under a Creative Commons BY-NC-SA 4.0 International License