Zoom – Quercus Integration
This page refers to the Zoom Quercus Integration.
Please view the Zoom page to read information on the Zoom desktop client, mobile app or web portal.
Zoom is a cloud-based video communications tool that allows you to set up virtual video and audio conferencing, webinars, live chats, screen-sharing, and other collaborative capabilities. The new Zoom-Quercus Integration provides the ability for instructors and students to use Zoom directly within their Quercus course.
- Zoom Cloud recording will be deleted after 365 days.
- Undergraduate students do not have access to record to Zoom Cloud (all users can record locally to your personal computer).
- An Instructor/teaching assistant can host meetings with unlimited minutes for up to 300 participants.
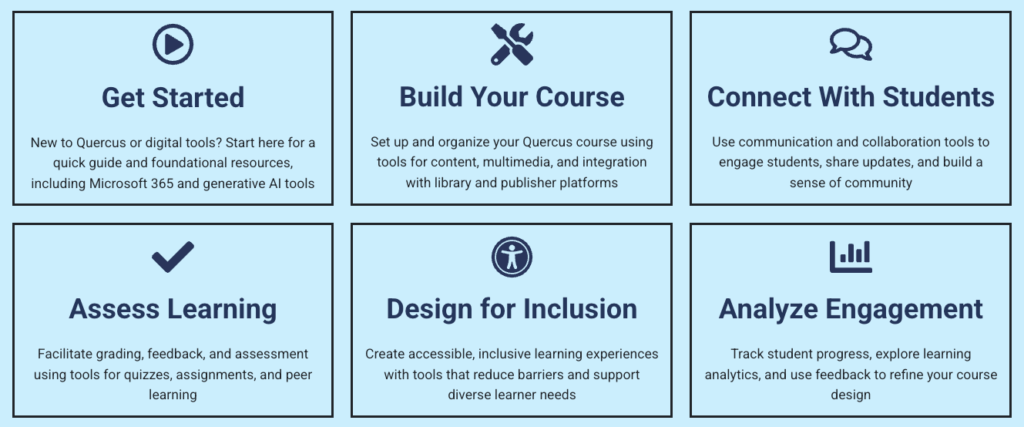
The Academic Toolbox helps you...
Typical Course Format?
Most tools in the Academic Toolbox can assist in both online and face-to-face courses. Many tools can provide benefits in either synchronous or asynchronous teaching. Some tools have been primarily designed for one format or another (synchronous/asynchronous), however, may be adapted for any format depending on your pedagogical goals.
To learn more about different teaching modalities, please consult our Online Teaching & Learning page, arrange a consultation with a CTSI Teaching Liason, or contact your Divisional support representative.
Where can I get more support?
Related resources / similar tools
How to Get Started
Zoom is a cloud-based video communications tool that allows you to set up virtual video and audio conferencing, webinars, live chats, screen-sharing, and other collaborative capabilities.
As of August 2022, Quercus offers the ability for instructors and students to connect directly within their Quercus course using a new integration.
For the Zoom web portal, please consult the Zoom tool guide.
Instructions
-
Add Zoom to your Navigation Bar
Instructors need to set up the Zoom integration feature by adding the Zoom tab to the navigation bar.
- Go to “Settings”.
- Select the “Navigation” tab.
- Scroll down the list of apps until you see “Zoom”.
- Drag “Zoom” up from the list of hidden navigation items to the list of visible navigation items in the top half of the list.
- Remember to select Save at the bottom of the page to save your changes.
-
Instructor or Alternative Host Set-Up
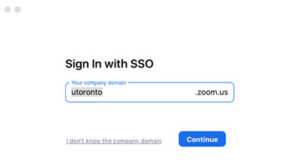
These instructions apply to using the Zoom-Quercus Integration for the first time. You will need to log in using the SSO (Single-Sign-On) option –NOT email – in order to access pro features and the new integration.
- Log in to the Zoom Portal using your U of T SSO – Single Sign-On. This will give you access to the Pro features.

Select the SSO button.

Choose utoronto as your company.
Log in with your UTORid and password. - Go to your Zoom-Quercus Integration in your course and log in.
- You should now be able to create your meetings and access your recordings through the integration.
- Log in to the Zoom Portal using your U of T SSO – Single Sign-On. This will give you access to the Pro features.
-
Zoom can integrate directly into Quercus, making it easier for instructors to set meetings and for students to attend, directly from a course. To use the Zoom integration in Quercus, navigate to the Zoom option in your Course Navigation bar. Zoom will use instructor and student UTORids to log in.
Zoom will launch in a new tab during a computer session. If students are on a mobile device, they will need pre-load the Zoom app call in via phone.
-
Set up a Meeting or Class
Instructors can create one-time or recurring meetings in Zoom.
Meetings can be scheduled from a Quercus course. To set up a meeting in the Zoom application, refer to Zoom desktop or mobile application
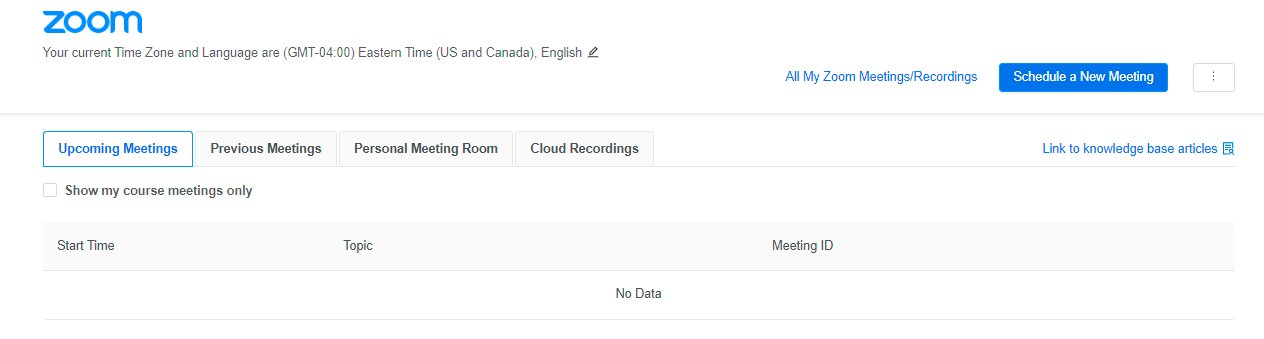
To set up a new meeting, select Schedule a New Meeting and configure settings.
A single, reusable class link will be assigned. The link will not need updating for subsequent sessions. Zoom session links can be added to course, Announcements, Modules or in your course Calendar. -
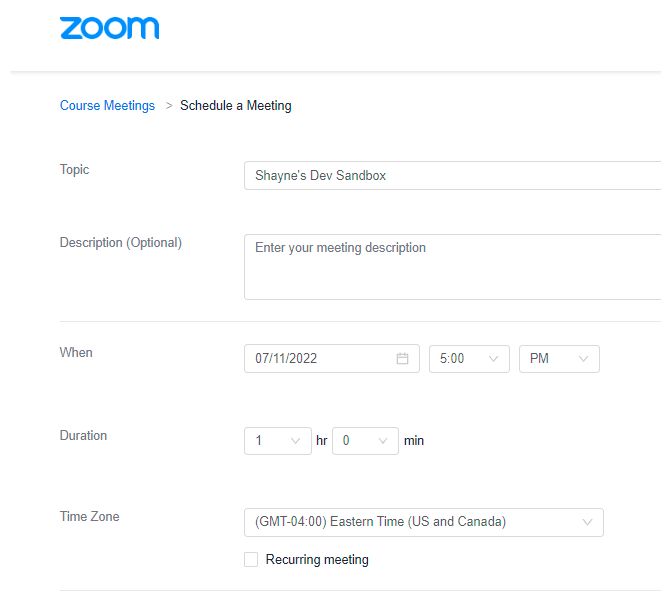
Set Meeting Details
-
Fill in details for your meeting.
- Fill in time zone and date and time information.
- Select the date, time, and duration of your class.
- Select the Eastern Time Zone (GMT -4:00_ for Toronto.
- Check the Recurring Meeting checkbox for regular, reoccuring classes, office hours, or tutorial sessions.
- Select the recurrence, repeat interval, and day of the week.
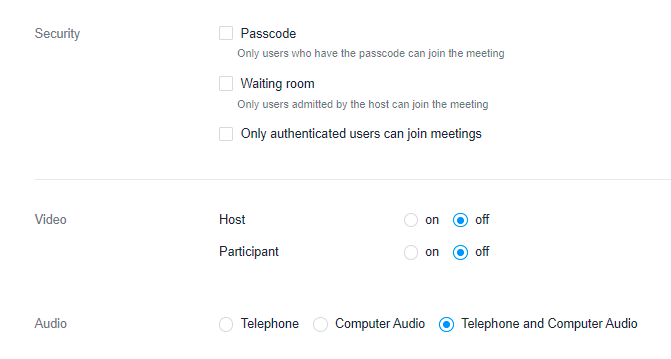
- Use a Password to help prevent unauthorized participants.
- The Waiting Room is enabled by default. The Waiting Room is a virtual area that stops your participants from joining until you admit them. You may wish to keep this checked if you have a smaller class and you or the co-host (typically your TA) can monitor the room to admit late students or students who need to reconnect. You can disable the waiting room once you start the lecture.
- Check “Automatically record meeting and choose the location to store your recording. Recording can be initiated during the meeting, as well. Note that Zoom recordings are stored for 120 days and then deleted. You may wish to record directly to your local computer.
- Autosave your session chat under the Meetings tab. Only public messages will be saved. If you save the chat to your local computer, messages sent to you will also be saved.
- Save your changes.
-
-
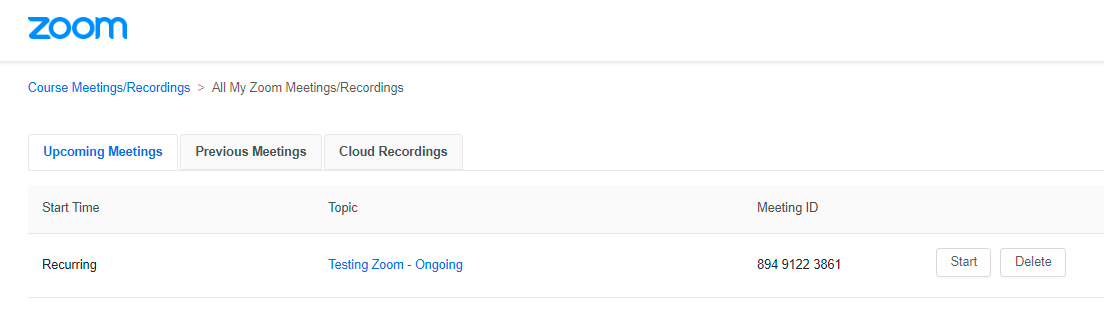
Start a Meeting
- Go to Zoom on your Navigation Bar.
- Select the Upcoming Meetings Tab.
- Find the meeting that you want to initiate and click the Start meeting button
-
Alternate Hosts
NOTE: Anyone acting as an alternative host will need to log in through the Zoom Web Portal prior to using the Zoom-Quercus Integration, using the same UofT credentials for both.
The instructor setting up the meeting can add alternative hosts to Zoom.
- Open Scheduled Meetings tab.
- Scroll down towards the bottom of the page.
- Under Alternative Hosts, add anyone licensed in the same account as yours using the drop-down menu.If you don’t see their name, ask them to log in through the Zoom Web portal using their UofT credentials. While manual emails can be added, it is better to follow this procedure.
-
Join a Meeting
Students can join a meeting from a link from their Announcements, Modules, or Course Calendar. Students can also select the Zoom link in their Course Navigation to access Upcoming Meetings. They can click on Join Meeting to join the meeting.
-
Zoom Features and Captioning
Refer to Zoom documentation for information on using the following Zoom features during a meeting: Share screen, Whiteboard, Annotations, Chat, Q&A, Non-verbal Feedback, Polling, and Breakout Rooms.
The documentation will also cover Captioning in Zoom.
-
365-day Zoom Cloud Recordings Retention Protocol –
U of T has implemented a 365-day retention protocol on Zoom recordings video-conferencing and webinar service that may affect your existing recordings saved to the Zoom cloud. Instructor, staff, graduate students may record to Zoom cloud, undergraduate students do not have Zoom Cloud recording capabilities. All University Zoom users can make a “local recording” which saves to own computer.
Recording a Zoom Meeting
Zoom meetings can be recorded locally to your computer device and to Zoom cloud. Refer to Zoom for more information.
Note that recordings saved to Zoom Cloud must be downloaded within 120 days of recording and saved to your local computer, MS Stream, or MyMedia.
To view a recording:
- Select Zoom in your Navigation Bar.
- Select the My Recordings tab to see a list of your recordings.
- New recordings will need to finish being processed before they are displayed.
- Select recordings to play, share, or download.
- Recordings can be Published or Unpublished, if you don’t want them to be visible.
-
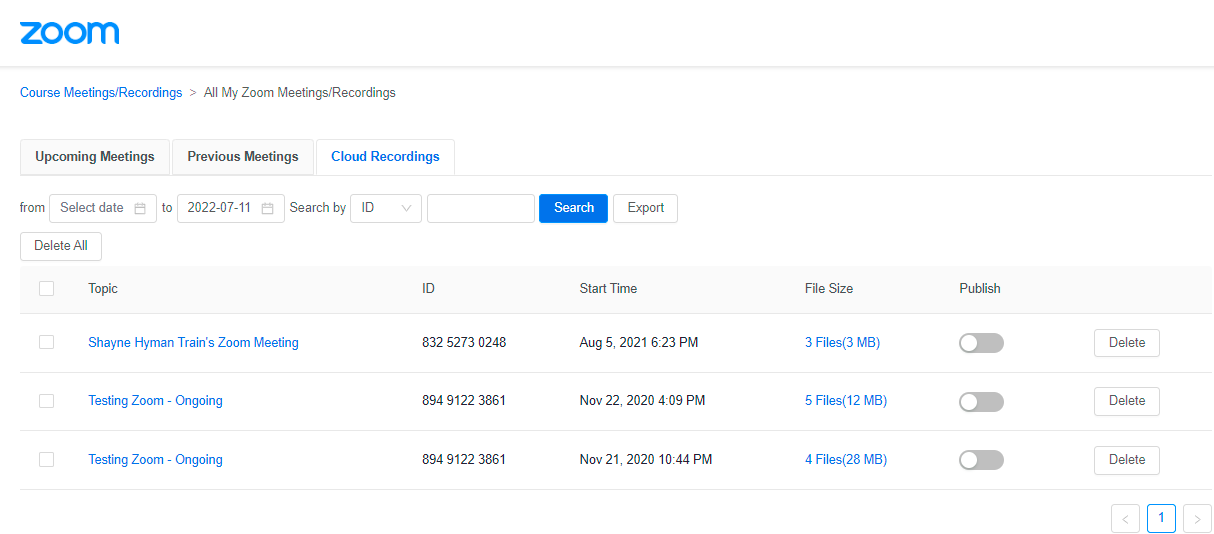
Access Recordings
- Select Zoom in the Course Navigation bar.
- Select the Cloud Recordings tab.
- Find the desired recording. You can also search using date, ID, or topic filters.
- Download recordings as desired. The following file types are available:
- Shared screen with speaker view: MP4 file with audio and video showing both active speaker view and shared content
(recommended format to use). - Speaker view: MP4 file with audio and video showing the active speaker view only.
- Shared Screen: MP4 file with audio and video showing the shared screen only.
- Audio only: M4A file with a recording of the audio.
- Audio transcript: VTT file with a transcript of the audio only.
- Closed Caption File: can be uploaded to a hosting option to provide closed captions.
- Shared screen with speaker view: MP4 file with audio and video showing both active speaker view and shared content
- To download individual files, select the recording name.
You will see the option to download the following files. See the chart, underneath for details on each type of downloadable file.
 A single, reusable class link will be assigned. The link will not need updating for subsequent sessions. Zoom session links can be added to course, Announcements, Modules or in your course Calendar.
Guides
-
https://community.canvaslms.com/t5/Canvas-Admin-Blog/Zoom-in-Canvas/ba-p/258278
https://community.canvaslms.com/t5/Canvas-Admin-Blog/Using-Zoom-with-Canvas-FAQ/ba-p/261826
Additional resources
Refer to documentation under Zoom for general resources.
Videos
-
A walk-through of the new Zoom – Quercus (Canvas) integration.
Considerations
Security Considerations:
- Please refer to the memo regarding Zoom Artificial Intelligence (AI) from Research & Collaborative (ARC) Technologies and Information Technology Services (ITS).
- Some students who have temporary credentials (QQid) are reporting errors accessing Zoom meetings. Instructors have the discretion to set authentication in the web client in the security settings. If you implement this, turn on the waiting room or use a password for extra security. This setting can be found by selecting Settings > Meeting tab > Security > Only authenticated users can join meetings. Toggle to enable or disable.
Accessibility Considerations:
- Long distance charges may apply if you are joining the session using a telephone and if you are using the Telephone Audio option. It is recommended that you use computer audio for Zoom whenever possible.
Last Modified:
13 January, 2026
This work is licensed under a Creative Commons BY-NC-SA 4.0 International License